Product
How to set up a double opt-in subscription form via Mailjet’s API
This blog article will show you how to create a double opt-in subscription form or link an already existing one with Mailjet via Mailjet's API.

PUBLISHED ON
Deliverability is a pain. We know it.
That’s why, here at Sinch Mailjet, we are doing our best to get your emails straight into the inbox, but we need your help as well. We know that you want this too, soyu can consistently generate more visits to your site.
While we can provide a solid infrastructure, industry-leading deliverability tools, and a team devoted to you deliverability, your role in this partnership is to ensure 100% of your list has opted-in to receive communications. Because they have, haven’t they? 😉
Table of content
Why is double opt-in better?
Step 1 - Contact’s subscription
Step 2 - Creation of the customized confirmation link
Step 3 - Sending of the confirmation email
Step 4 - Creation of template
Step 5 - Customer’s confirmation
Step 6 – Syncing the contact
Step 7 - Adding customer’s properties
Opt in for best deliverability
Opt-in subscription forms can be used to capture contact information from customers and visitors in a variety of ways: pop-up forms on the homepage or product pages, dedicated landing pages, and embedded widgets across your website.
A customer subscribing on your platform is like a verbal confirmation of interest in receiving your communications, however a double opt-in subscriber is like getting their signature. Not only does it really prove their consent, but it also is indicative that they really want to engage with your content, products, or services. These are the most valuable contacts.
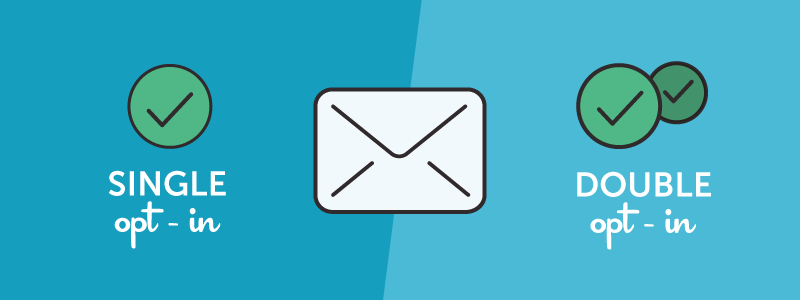
Single opt-in vs Double opt-in
There are two types of opt-ins - single and double. While the single opt-in only requires users to provide their email address in one step, the double opt-in widget includes two steps to confirm the subscription. Single opt-in subscriptions skips a crucial second step - confirmation.
Pro tip: For a more in-depth look at the key differences between single and double opt-in we recently updated an article that breaks them down for you.
Why is double opt-in better?
This validation process consists of receiving an email with a custom confirmation link. This will guarantee that the address is in fact valid and its owner agrees to receive your marketing campaigns. It eliminates the chance of abuse where somebody submits somebody else's email address without their knowledge and against their will. At the same time, typos in email addresses are also caught, as are the risk of bots mass subscribing to your content.
By using double opt-in you can reduce spam complaints down to well within acceptable levels (e.g. at Sinch Mailjet we make sure our users do not get more thank 0.08% spam complaints). While double opt-in is not obligatory by law yet, the GDPR is still requesting valid and unambiguous consent for subscription.
Often quality is better than quantity, and this is certainly the case in emailing. You will have very strong deliverability rates and you will know your audience will be anticipating and willing to read your newsletters. This sure beat sending emails to addresses with typos, bots, or fake accounts.
How to set up a double opt-in through Mailjet’s API
By now hopefully we have convinced you that it is far better for you to use a double opt-in subscription widget, so now we are going to explain how to create one through our API. This is a good solution if you already have an existing opt-in and you just want to connect it to Mailjet, or if you think using our subscription widget is just… too easy for you. 😏
In the diagram below you can see a schema of the process and the steps to follow to make the connection between your system and ours through our API:
Now, let’s have a look at the different steps.

Step 1 - Contact’s subscription
Lucky you! Your visitor has decided to subscribe to one or more newsletters via an opt-in on your site.
This form can also contain additional contact properties (like first name, last name, city, gender, etc.). Basically, anything you find useful later to segment your list or personalize your newsletter.
Step 2 - Creation of the customized confirmation link
When the user completes the subscription form, the email address and contact properties will be saved on your system. Then you will have to generate the custom confirmation link that should be send to the client by email. This custom URL should guarantee that the subscription cannot be faked and only the person you are addressing can click on it.
For example you can use MD5 hash algorithm to convert the name of the recipient to 128-bit hash value. Then you could insert it as a variable at the end of the confirmation link. Your system will perform a MD5 of the email address concatenated to a specific SecretKey which will be corresponding to the custom URL.
http://mysystem.com?{{var:EmailOfTheUser}}&{{var:MD5hash}}
Step 3 - Sending of the confirmation email
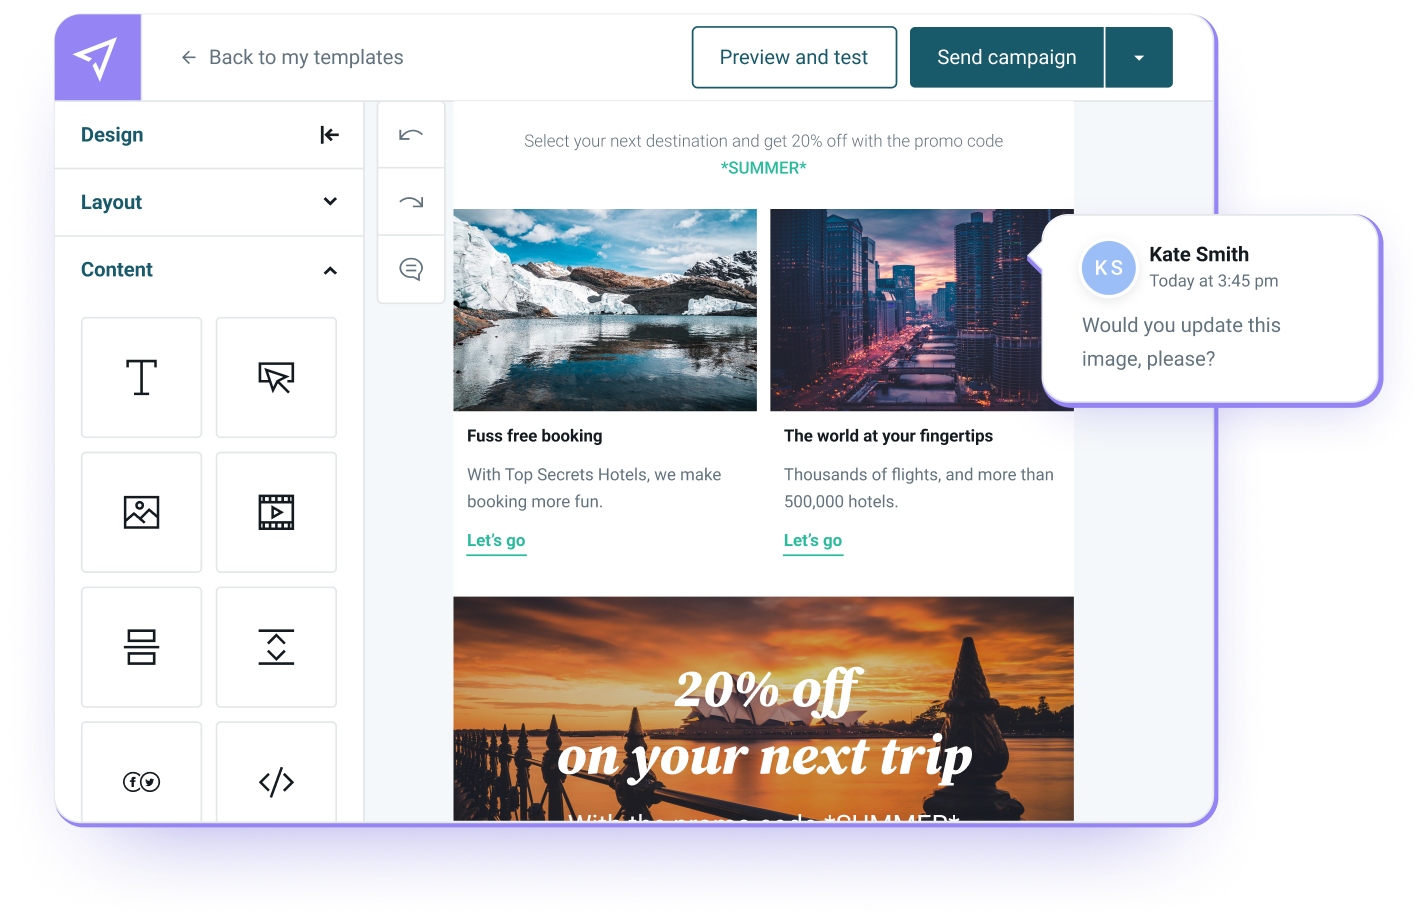
After your system creates the customized confirmation link, it is time to leverage our Send API through a POST request. You should create a template for the confirmation email that will contain the custom URL. You can design the template with our intuitive email builder, Passport, or via our API using Mailjet’s templating language. You can insert the confirmation link behind a button or just as it is. Below you can see an example of an API call that you can use:
Step 4 - Creation of template
If you want to use an awesome template you created with our email editor, Passport, or with MJML / HTML code, you can send it easily with the API, by following the steps here or using the example below:
Step 5 - Customer’s confirmation
At this step, the action should be completed by your customer. They are going to receive your email and they will have to click on the confirmation link in it.
Step 6 – Syncing the contact
The user has done their part and that means that they are ready to be added to your contact list. (Technically, a contact has already been created in your Mailjet database but has not yet been subscribed to any particular contact list.) Now a confirmation page should be displayed to them thanking them for their subscription.
The opening of this page should refer back to your system with the appropriate parameters (email and MD5 hash). They will give you the MD5 checksum (Secret Key) corresponding to the confirmation link associated with this user. If the parameters are correct, the contact will be added in your system.
MD5 checksum == EmailOfTheUser + MD5 hash value
Example: Recipient Name: John Smith and recipient email johnsmith@email.com
Secret key in your system == johnsmith@email.com + 6117323d2cabbc17d44c2b44587f682c
Step 7 - Adding customer’s properties
Only one thing left to do - add the client to the list and attribute the properties they provided. This can be done by your system which should call Manage Contacts endpoint of our API.
Here’s an example of the request:
Important: If your contact specified some properties, you should make sure you have defined those properties in advance in the Mailjet system with the user interface or with the API.
And with that, it is all done!
Summing up
We’re sure by now, you’re convinced double opt-in is the way to go to ensure you’re only sending emails to contacts that really want to receive them, and to ensure optimal deliverability.
Once you have created your widget and configured the scripts to sync your contacts with with Mailjet, you’re ready to start sending. From now on, any contact that enters your database and confirms their subscription will become part of your list at Mailjet, with all of the properties they declared.
Now you can continue with the creation of your awesome campaigns to send to all those new subscribers. You can see how to do so here.
Share your thoughts and ideas with us on Twitter and Facebook, and follow us to be the first to get the news!
